RAG项目在windows系统下的环境安装流程
Created|Updated|RAG_NotesRAG项目在windows系统下的环境安装流程
|Post Views:
RAG项目环境安装流程
1 python虚拟环境
依赖文件 (
requirements.txt)自己创建requirements.txt文件, 将以下内容复制进去即可
1
2
3
4
5
6
7
8
9
10
11
12
13
14
15
16
17
18
19
20
21
22
23
24
25
26
27
28
29
30
31
32
33
# Web框架
fastapi
uvicorn[standard]
websockets
# 数据库连接
pymysql
redis
# 向量检索
rank_bm25
scikit-learn
numpy
jieba
pandas
transformers
torch
langchain
langchain_community
sentence_transformers
pymilvus
# AI模型
openai
# 配置和工具
configparser
locust
websocket-client
# 其他依赖
pydantic
starlette打开cmd终端(win+r)输入以下命令
1
2
3
4
5
6
# 创建虚拟环境, 安装3.10及以上的python解析器
conda create -n EduRAG python=3.10
# 切换虚拟环境
conda activate EduRAG
# 安装依赖包, 在requirements.txt对应路径下执行以下命令
pip install -r requirements.txt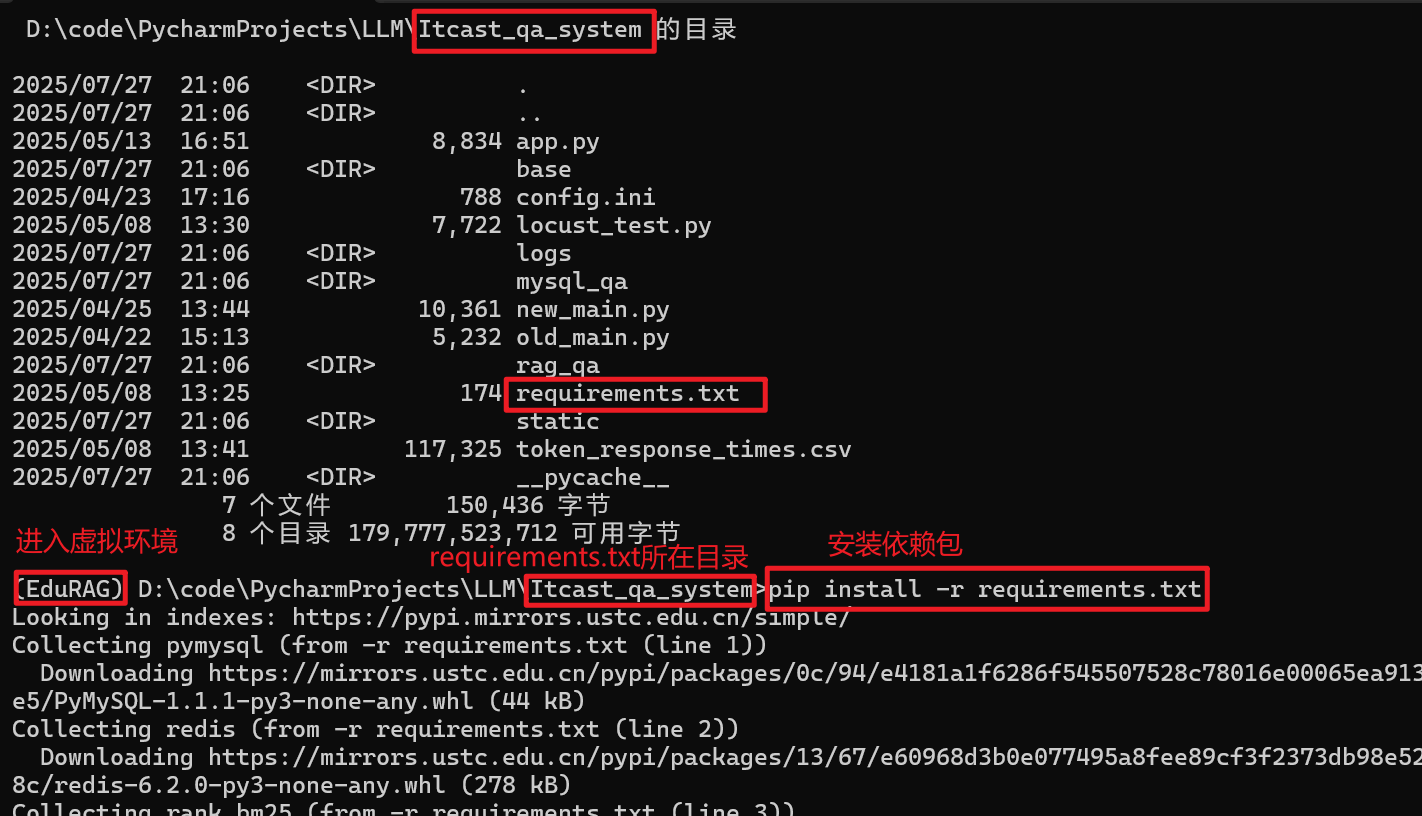
2 安装Docker Desktop
安装WSL(Windows Subsystem for Linux)
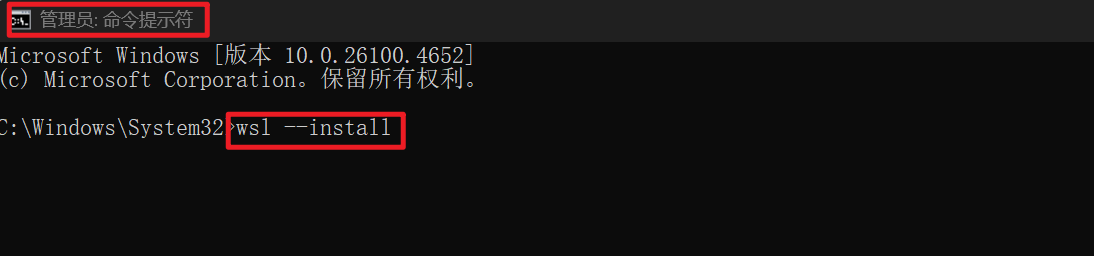
启用WSL打开具有管理员权限的PowerShell,运行以下命令以安装WSL
1
wsl --install
下载Docker Desktop
- 访问Docker官方网站,下载适用于Windows/Mac的Docker Desktop安装包。
安装Docker Desktop
- 双击下载的安装文件,按照提示一路下一步完成安装
- 安装完成后,重启计算机
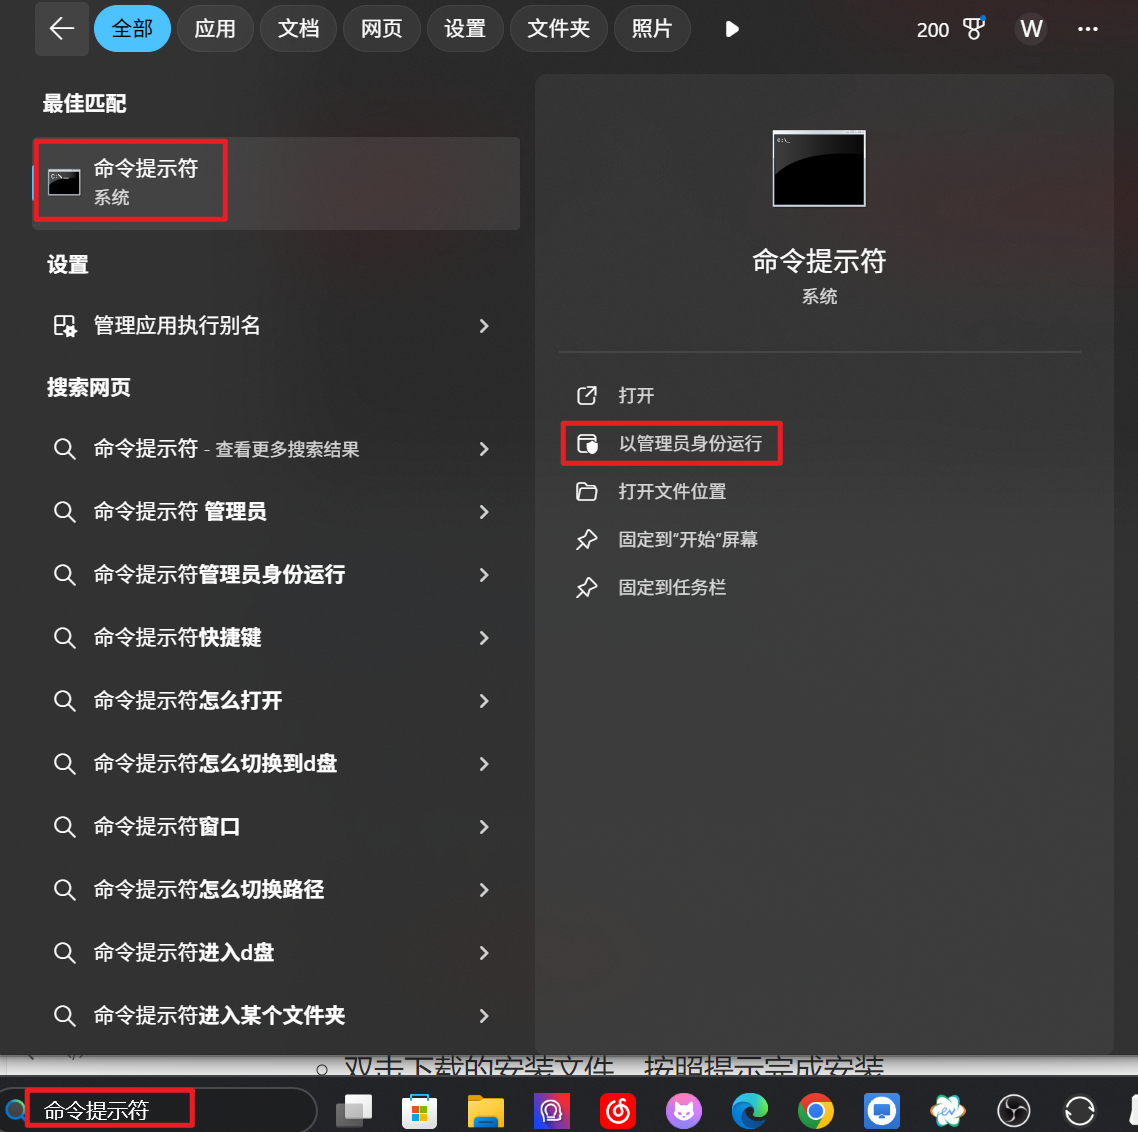
验证Docker安装
打开PowerShell或命令提示符,运行:
1
2
docker --version
docker compose version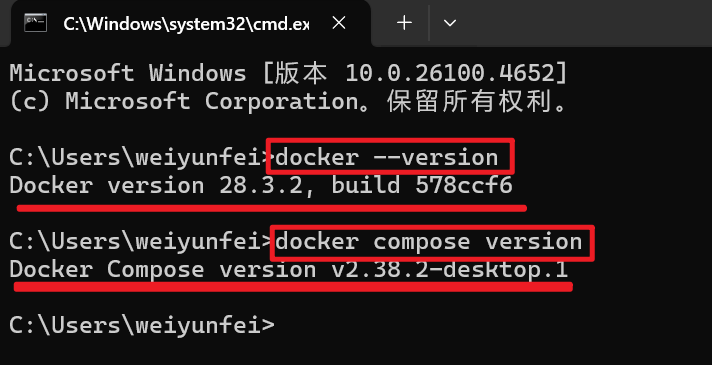
3 配置Docker Compose文件
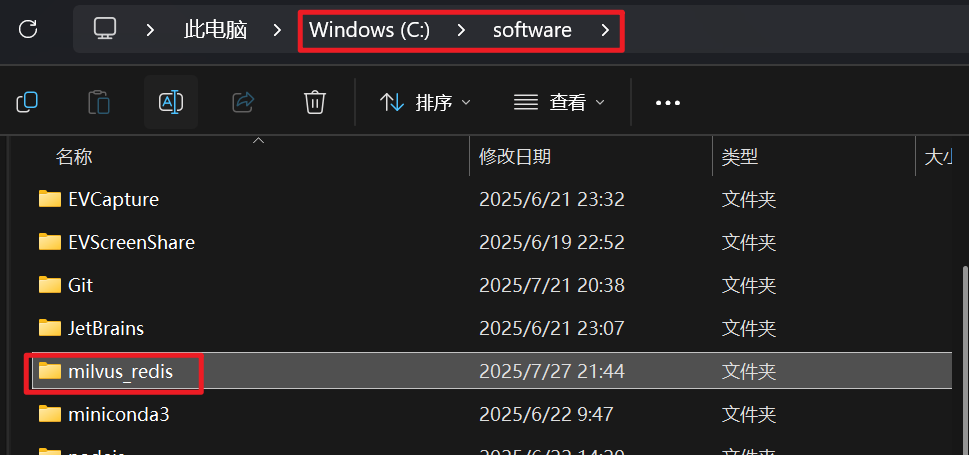
创建项目目录
在本地磁盘(例如:C盘)创建一个文件夹,用于存放Milvus和Redis的配置文件和数据:
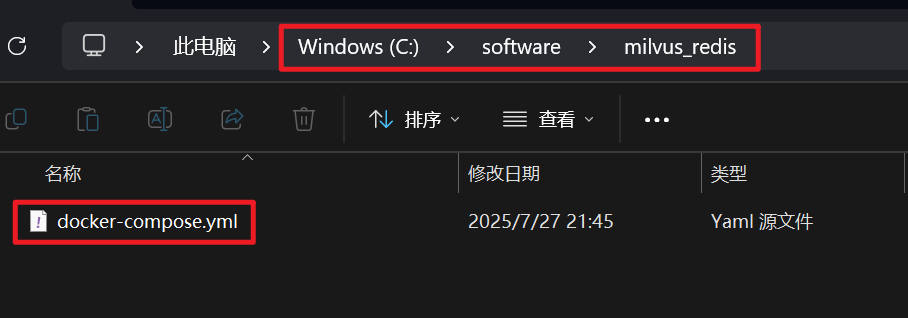
创建Docker Compose文件, 添加以下内容 (先创建.txt格式文件, 然后修改为.yml格式)
1
2
3
4
5
6
7
8
9
10
11
12
13
14
15
16
17
18
19
20
21
22
23
24
25
26
27
28
29
30
31
32
33
34
35
36
37
38
39
40
41
42
43
44
45
46
47
48
49
50
51
52
53
54
55
56
57
58
59
60
61
62
63
64
# version: '3.5'
# Windows/x86_64 Version
# Redis Password set to: 1234
services:
etcd:
container_name: milvus-etcd
image: quay.io/coreos/etcd:v3.5.5
environment:
- ETCD_AUTO_COMPACTION_MODE=revision
- ETCD_AUTO_COMPACTION_RETENTION=1000
- ETCD_QUOTA_BACKEND_BYTES=4294967296
- ETCD_ENABLE_V2=true
volumes:
- ./volumes/etcd:/etcd/data
command: etcd -advertise-client-urls=http://127.0.0.1:2379 -listen-client-urls http://0.0.0.0:2379 --data-dir /etcd/data
minio:
container_name: milvus-minio
image: minio/minio:RELEASE.2023-03-20T20-16-18Z
environment:
MINIO_ACCESS_KEY: minioadmin
MINIO_SECRET_KEY: minioadmin
volumes:
- ./volumes/minio:/minio/data
command: minio server /minio/data
healthcheck:
test: ["CMD", "curl", "-f", "http://localhost:9000/minio/health/live"]
interval: 30s
timeout: 20s
retries: 3
standalone:
container_name: milvus-standalone
# 使用多架构镜像,Docker on Windows 会自动拉取 x86_64 版本
image: milvusdb/milvus:v2.4.4
command: ["milvus", "run", "standalone"]
environment:
- ETCD_ENDPOINTS=etcd:2379
- MINIO_ADDRESS=minio:9000
volumes:
- ./volumes/milvus:/var/lib/milvus
ports:
- "19530:19530"
- "9091:9091"
depends_on:
- "etcd"
- "minio"
redis:
container_name: milvus-redis
image: redis:latest
restart: always
ports:
- "6379:6379"
volumes:
- ./volumes/redis:/data
# 设置 Redis 密码为 1234
command: redis-server --requirepass 1234
networks:
default:
name: milvus-network
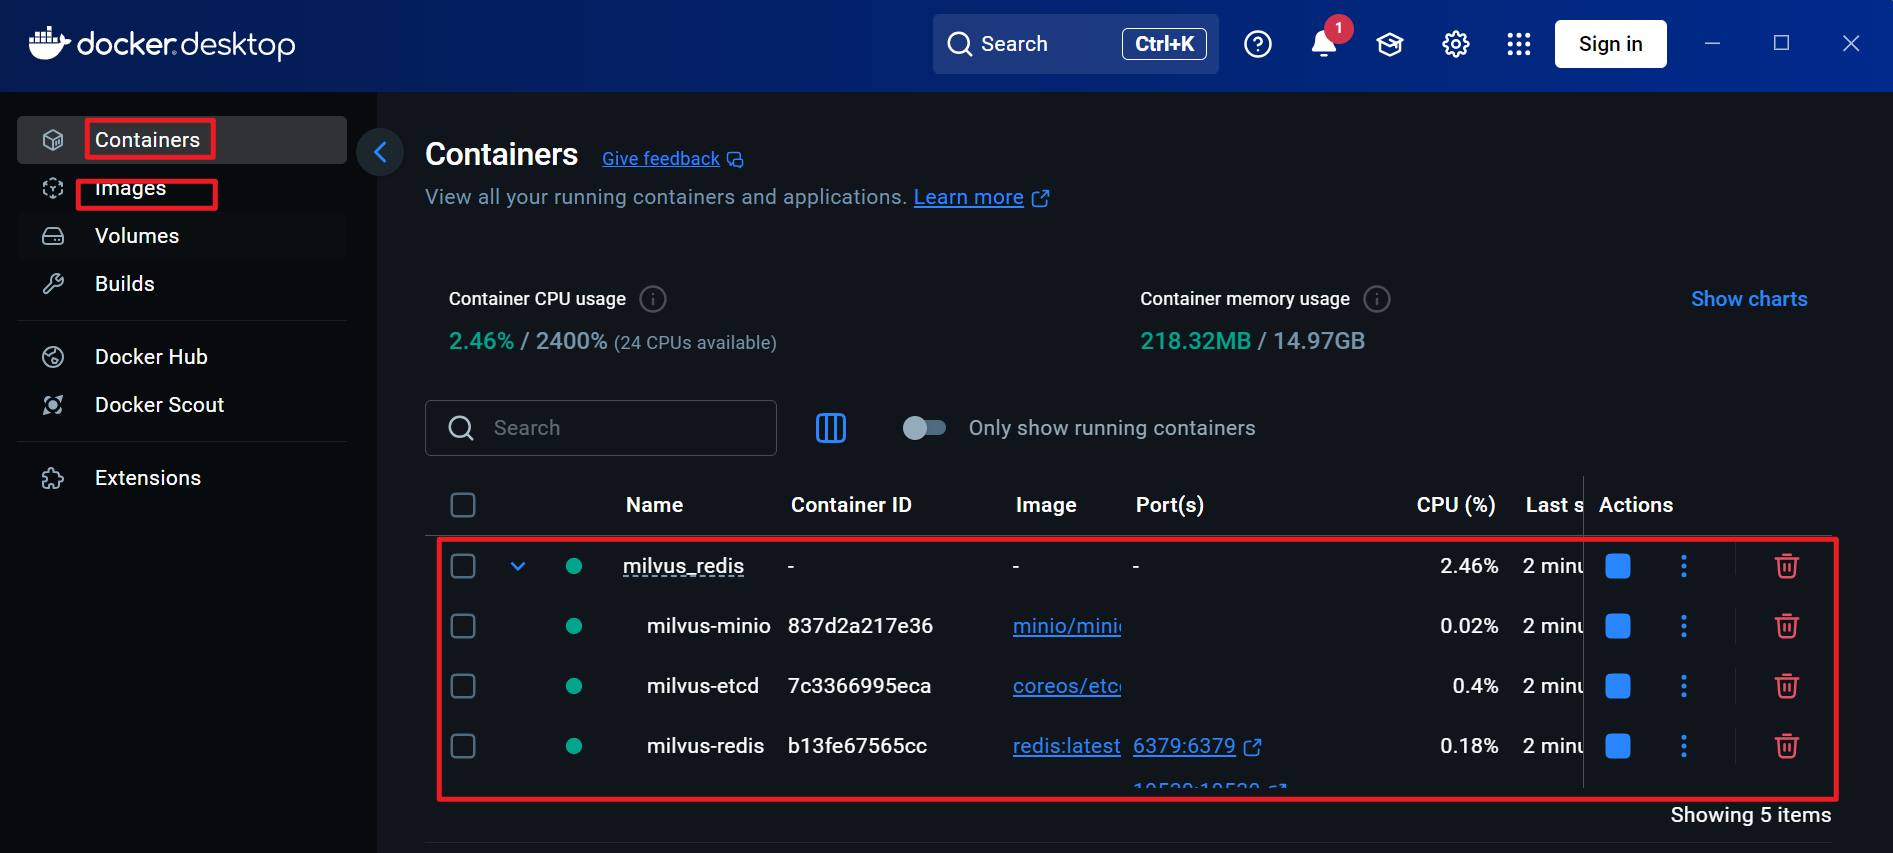
4 启动Milvus和Redis
拉取镜像并启动容器
在milvus_redis目录下,打开具有管理员权限的PowerShell终端,运行:
1
2
# -d 表示后台运行容器
docker compose up -d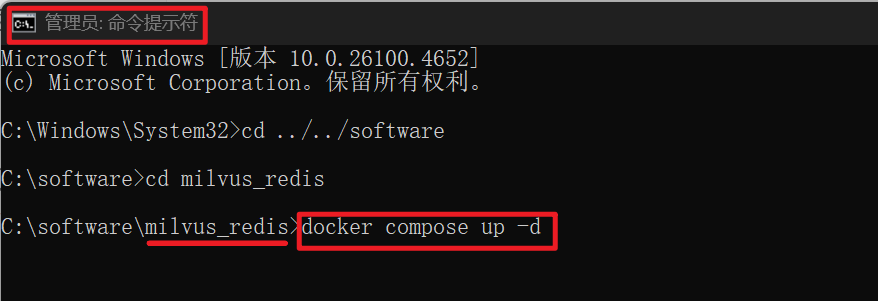
拉取镜像时报错: Get “https://registry-1.docker.io/v2/“: net/http: request canceled while waiting for connection (Client.Timeout exceeded while awaiting headers)
1
2
3
4
5
6
7
8
9
10"registry-mirrors": [
"https://docker.211678.top",
"https://docker.1panel.live",
"https://hub.rat.dev",
"https://docker.m.daocloud.io",
"https://do.nark.eu.org",
"https://dockerpull.com",
"https://dockerproxy.cn",
"https://docker.awsl9527.cn"
]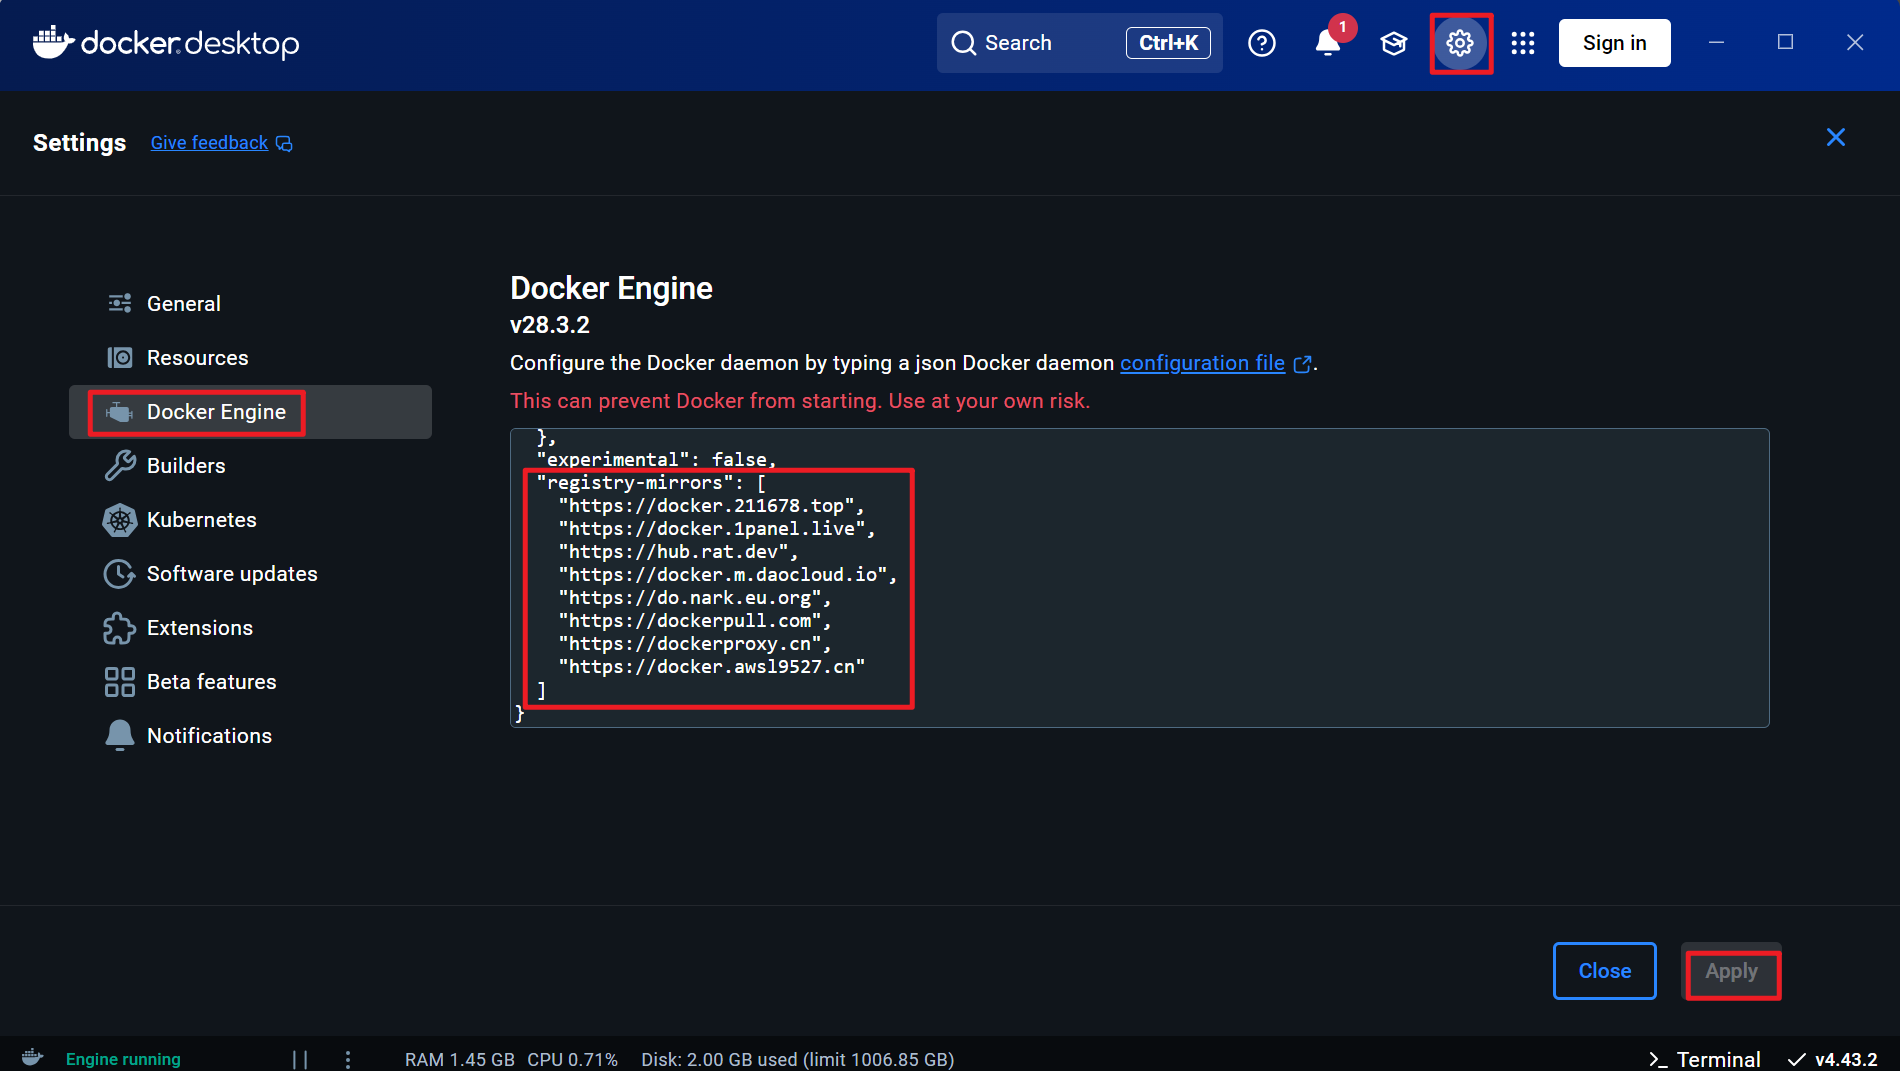
重启docker生效
5 验证Milvus和Redis
测试Milvus连接
创建Python脚本(例如 test_milvus.py )
1
2
3
4
5
6
7
from pymilvus import connections, utility
# 连接到 Milvus
connections.connect(host="localhost", port="19530")
# 检查版本
print(f"Milvus version: {utility.get_server_version()}")在RAG虚拟环境下运行脚本
1
2
3
# cmd终端执行命令
# 输出类似Milvus version: 2.4.10 表示Milvus部署成功
python test_milvus.py
测试Redis连接
创建Python脚本(例如 test_redis.py )
1
2
3
4
5
6
7
8
9
import redis
# 连接到 Redis
client = redis.Redis(host="localhost", port=6379, password=1234, decode_responses=True)
# 测试读写
client.set("test_key", "Hello, Redis!")
value = client.get("test_key")
print(f"Redis value: {value}")在RAG虚拟环境下运行脚本
1
2
3
# cmd终端执行命令
# 输出类似Redis value: Hello, Redis! 表示Redis部署成功
python test_redis.py
Readme
1 | 问题一、安装requirement内的三方包失败: |
Author: 甘虎文
Copyright Notice: All articles on this blog are licensed under CC BY-NC-SA 4.0 unless otherwise stated.
Related Articles
2024-03-15
RAG-Milvus
RAG-Milvus配置文件, 文档处理模块 日志书写 原始子块,txt sparse vector parent content source timestamp 检索精准。 分块检索, 父块 子块 子块的文档切分器 父类的文档切分器 基于父块,切 文档的处理模块 创建并加载集合 转换成向量并存储 trainer.train() model args 帮助简化训练流程。 处理数据(※) 帮助跟随节奏: 敲注释,敲print信息。 123456789101112131415161718192021222324252627282930313233343536373839404142434445464748检查模型路径是否存在加载预训练模型将模型移到指定设备记录加载成功的日志初始化新模型num labels=4;就是多分类default:就是2将模型移到指定设备记录初始化模型的日志保存模型(save_model)创建dataset对象训练bert分类模型# 加载数据集with open万能读取方式json.loads(value) for value in f.readlines(...
2025-01-04
RAG-Langchain
RAG-LangchainRAG解决什么问题: 信息过时:网络检索,获取最新数据 领域知识缺失:微调,将专有和私有的知识放到知识库里 幻觉:RAG(retrieval augmented generate),减轻幻觉,基于相关文档进行生成, 安全:RAG,无需将数据送到公开大模型中训练,放到本地知识库,使用本地的模型(api会泄露)进行调用,避免数据的公开和泄露。2)私有数据时存在本地知识库的,做一个权限的管控。 RAG定义:检索技术+生成(LLM提示) 处理流程:构建索引(文件加载、内容读取、chunk构建(拆成小文件,小块)、向量化(小块文档向量化)、落向量化 检索:query向量化,找到topk 生成:topk+query构建prompt;llm生成。 开发框架:LLaMAIndex、Langchain(快速搭建大模型) Langchainlangchain将模型分为三种( langchian是用于构建大模型应用程序的框架,帮助开发者更高效的组合和使用多语言的工具。 原始大模型:LLM、chat models、embeddings chain:组装chain:chain&#...
2025-01-07
RAG流程
RAG流程:mysql储存FQA高频问答对数据 问题检索:BM25 连接数据库 添加表(带着字段) 添加数据 json.dumps() mysql 存储自己的网址和密码。(自己设计一个RAG系统) 声明回退问题,把原来的复杂查询简化,第一个query检索 进行改写。主题含义不变。 milvus可以处理的数据集的大小限制是多少 技术实现: 增强索引:设计目标、核心功能、技术实现 多粒度切块,把块-分子块,对应的父块,提供给LLM 文档切成一块,存储milvus中的文档, query是为题,编程向量, 太长的拆成四个 128个向量 父块是一个 子块分成子块去做检索 切块的子块数都是超参数 混合检索:BM25,向量检索,字符检索 base:基础模块,配置、日志 core:核心逻辑模块,实现RAG的关键功能 main:系统运行入口,支持数据处理和交互查询 中午将一份唯二 通用知识由大语言模型回答, 直接 hyde 子查询 会输 文档检索:支持抽向量和系数向量的混合检索, 中午,下午 语义关键字,倒排(关键字检索 两句话的相似性, 混合检索,重排序优化, 作为回答送给大模型,方便理解。 用...